#stampinup #faithfulinkspirations Yes, I know it’s only July. Yes, I know it’s over 100 degrees and a million percent humidity in Maryland, but I’m still going to show you a Christmas card. This is one of the cards that we’ll be making in my upcoming Christmas card stamp-a-stacks. The first one is on August 26th–so the classes will be starting in no time! If you’re local to Ellicott City, Maryland, click on the tab at the top of the blog to get all the details on the classes. If you’re interested in a long-distance option, send me an email and we’ll talk about how we can make that happen!
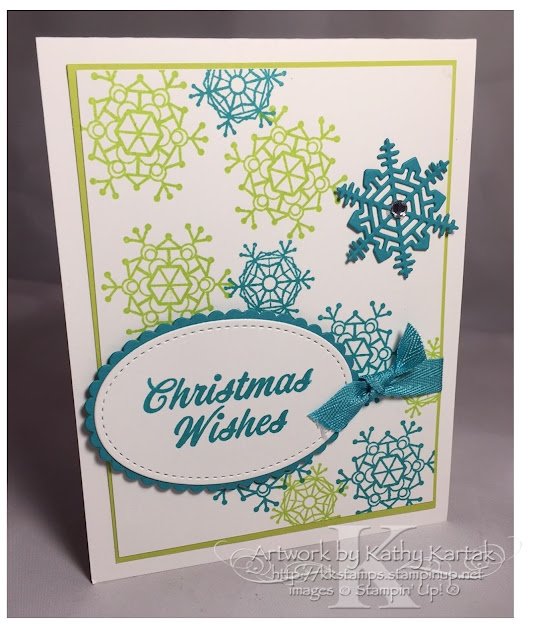
Today’s card is made with the super versatile “Colorful Seasons” stamp set. Yes, there are stamps for every season in that set, hence the descriptive name! I used some very non-traditional Christmas colors on this card!
I started with a 3-3/4″ by 5″ Whisper White panel and stamped the two sizes of snowflakes from “Colorful Seasons” randomly from the top left corner to the bottom right corner. I used Lemon Lime Twist and Bermuda Bay Inks. I think this combo is stunning! I adhered this to a 3-7/8″ by 5-1/8″ Lemon Lime Twist mat. Then I wrapped a length of Bermuda Bay Mini Chevron Ribbon around before adhering to a Thick Whisper White Card Stock card base, cut lengthwise.
Next, I stamped the “Christmas Wishes” sentiment from the “Merry Mistletoe” set in Bermuda Bay Ink onto a Whisper White scrap and cut it out with one of the Stitched Shapes Framelits. I cut a Bermuda Bay scalloped oval using one of the Layering Ovals Framelits. I added this piece to the card with Stampin’ Dimensionals.
 I cut a snowflake using one of the Seasonal Layers Thinlits Dies–that
coordinate with the “Colorful Seasons” set–and adhered it to the card
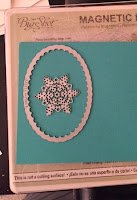
with a Glue Dot. PRO TIP: Save some paper by cutting your snowflake out of the middle of the oval mat, like this.
For a finishing touch of bling, I popped a medium-sized Basic Rhinestone Jewel in the center of the die-cut snowflake. Cute!
Product List


Leave a Reply