#stampinup Wow! It seems like it’s been forever since we’ve had a Creation Station blog hop! We post on the first and third Sundays of a month and sometimes there’s a fifth Sunday in a month and we don’t post…so it has been a little while. I hope that means you’re ready for our sensational creations!
This time we’re featuring the sensational single stamps in the catalog. I think these stamps get overlooked sometimes. I know I occasionally forget about them. But they’re super fun to work with!
Our secondary theme is: bag it up! Some of us will be showing creative uses for Stampin’ Up’s great line of gift bags.
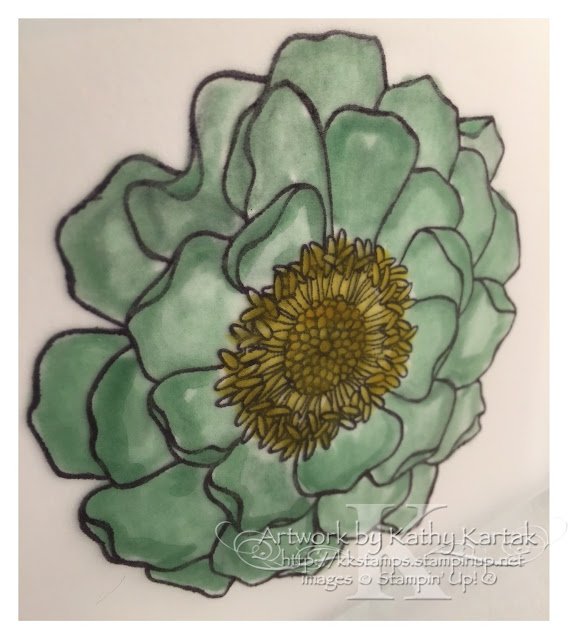
I initially thought I’d use either the “Get Well Soup” or “Watercolor Thank You” single stamps, but when I went to the stamp shelf, “Blended Bloom” called to me.
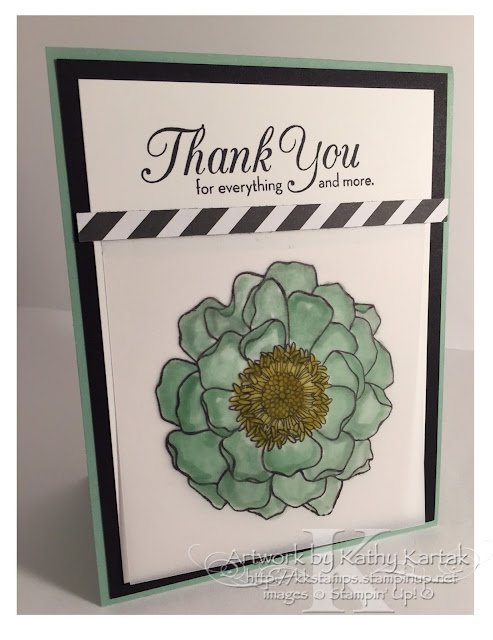
I cut a square of Vellum Card Stock and stamped the “Blended Bloom” in Basic Black Archival Ink. Because I’m so impatient, I set the ink with my heat tool. Then I used a Blender Pen and Mint Macaron ink to color the bloom. I really like how the vellum allow colors to layer. I colored the center of the bloom with Hello Honey ink.
For the card, I layered a Basic Black mat onto a Mint Macaron card base. Then, using my Stamp-a-Ma-Jig, I stamped a greeting from the “One Big Meaning” stamp set in Basic Black Archival Ink at the top of a Whisper White panel.
I attached the vellum to the card stock with a line of snail adhesive at the top. I covered the adhesive with a thin piece of Everyday Chic Designer Series Paper.
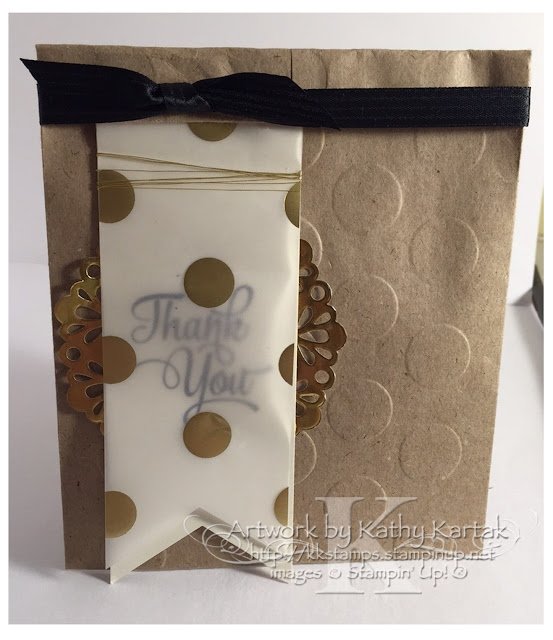
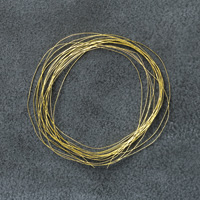
For my next project, I started with a Kraft Tag a Bag Gift Bag and embossed it with the Large Polka Dot Embossing Folder. I cut a 2″ strip of Very Vanilla Card Stock and flagged the end with the Banner Triple Punch. I stamped a sentiment from the “One Big Meaning” set onto this banner in Basic Black Archival Ink. I cut a 2″ strip of Gold Fancy Foil Designer Vellum and layered this on top so that the sentiment would show. I attached the vellum to the card stock with two glue dots strategically hidden behind a couple of gold polka dots. I wrapped the banners with Gold Metallic Thread and added a Gold Foil Doily behind the banner before attaching it to the bag.
I folded the top of the bag and stapled it shut (pretend there’s a wonderful gift inside) and added a length of Basic Black Stitched Satin Ribbon as a finishing touch.
Now you can continue around the hop using either the “next” or “back” buttons below. Be sure to check out all the projects on the Creation Station blog hop. Our design team is here to inspire you!







Leave a Reply