Stampin’ Up’s new Gift Bag Punch Board makes the sweetest gift bags. Check out the ones I made recently for the Creation Station blog hop.
You can make bags that tie at the top, or you can add a flap. Here’s a quick picture tutorial for adding the flap.
For a small gift bag, start with a 10″ (for the small sized bag) by 8″ piece of card stock or designer series paper. A 6″ tall small gift bag uses a 10″ x 6″ paper. The extra 2″ are for your flap.
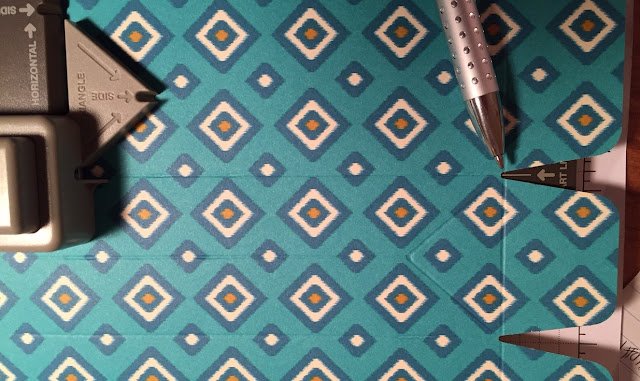
Follow the instructions on the gift box punch board for making the initial scores and cuts for the gift bag. Then rotate the paper to the side that has not been cut and line up the first score line/divot with the “start here” line on the punch board and punch.
Slide the DSP down to the next score line/divot and punch again. You’ll end up with a piece that looks like this. The top was cut according to instructions. The bottom shows the extra flap that on the opposite side.
Finally, cut away the extra DSP on the right and left, leaving just the gift bag flap. Your DSP will look like this.
Now, assemble the bag.


Leave a Reply