#stampinup #faithfulinkspirations #creationstation Welcome to the November 2018 Creation Station blog hop where our awesome international design team will be showing you projects to show our thankfulness.
Can I let you in on a little secret? Every, single blog hop makes me nervous and anxious. You see, our Creation Station design team is so uber creative that I feel a little overwhelmed and maybe (just a little bit) like an imposter. And so I usually spend hours and hours (and hours) perfecting a project that I won’t be embarrassed to share in this group. But the secret is that this process has helped me grow as an (can I even say it?) artist. You know that saying about how diamonds are formed under pressure, right? Well, sometimes a little self-imposed pressure helps the creative juices.
And sometimes a project just comes together all on its own. Today’s project did that. This was an anxiety and stress-free project and I’m so excited to share it with you!!
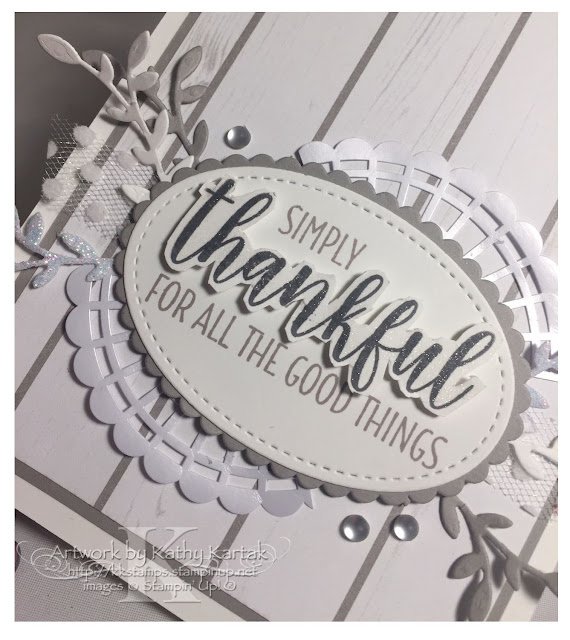
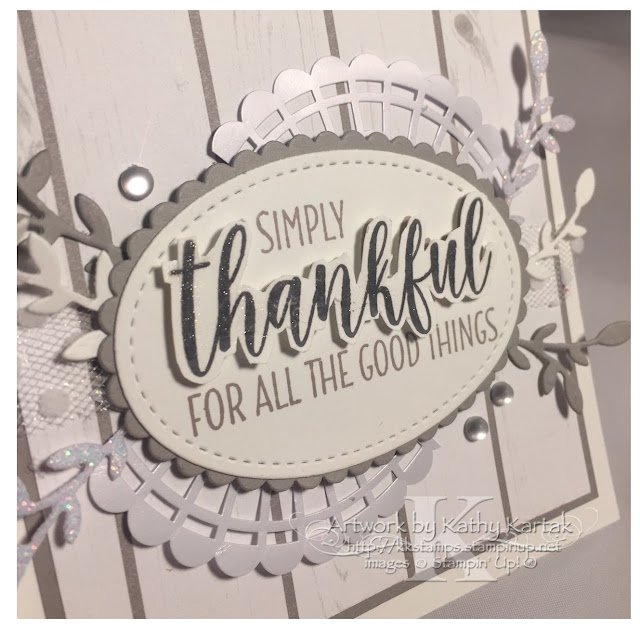
I went with an extremely neutral color palette–Whisper White, Gray Granite, Basic Gray, and a little sparkle here and there. I love the wood texture sheets in the Festive Farmhouse Designer Series Papers, so I started with a 3-3/4″ by 5″ piece from this sheet. Before I adhered the DSP to the 3-7/8″ by 5-1/8″ Gray Granite Card Stock mat, I cut two leaf sprays from the center (’cause who’s gonna see it?) with one of the Botanical Tags Thinlits. I adhered the DSP and Gray Granite mat to a Thick Whisper White Card Stock card base, cut lengthwise.
Next, I stamped a sentiment from the “Country Home” stamp set in Gray Granite Ink onto Whisper White Card Stock and cut it out with an oval Stitched Shape Framelit. I stamped the same sentiment again in Basic Gray Ink and used my Paper Snips to fussy cut the word “thankful.” I adhered the stitched shape oval to a scalloped Gray Granite Card Stock oval that I cut with one of the Layering Ovals Framelits. I adhered the fussy cut “thankful” to the card with Mini Stampin’ Dimensionals.
I cut two Whisper White and two Sparkle Glimmer Paper leaf sprays with the Botanical Tags Thinlits and adhered them to the back of the oval sentiment piece. I felt like the piece needed a bit more, so I added a length of Whisper White Polka Dot Tulle Ribbon.
After I adhered the oval sentiment piece to the card with Stampin’ Dimensionals, I still felt like it needed a bit more, so I cut a Pearlized Doily and tucked it behind the sentiment piece.
But I still wasn’t finished! I added three Frosted Epoxy Droplets to the card. And then for a final bit of shimmer and shine, I painted some Clear Wink of Stella onto the fussy cut “thankful.”
I hope you’ve enjoyed a glimpse into my creative process and I hope I’ve inspired you to just get your hands on a stamp and some ink and some embellishments and see what happens. You may surprise yourself!
Now, please continue to hop around the blog and see what our other amazing design team members have in store for you. And we would be super thankful if you’d leave us a comment on our blogs–it really makes us happy when you do that!!
Product List


I love this! Love the neutral color scheme and I love the pop of "thankful" I wish I had done that on my projects–it's a great detail.
Simply gorgeous Kathy! Love the serene look! xx Linda