I used Stampin’ Up’s Graceful Glass Suite of products to make this pretty luminary.
1. Cut two 3-1/2″ by 4-1/2″ Basic Black Card Stock pieces. Score 1/8″ along the long sides. Cut two 3-1/4″ by 4-1/2″ Basic Black Card Stock pieces.
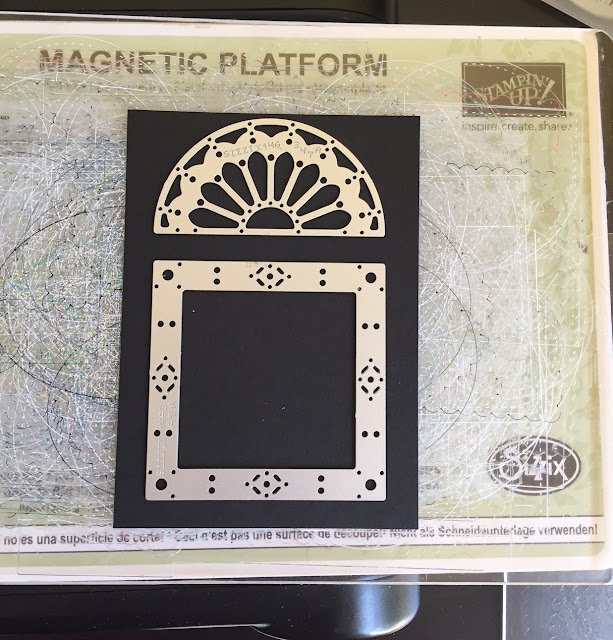
2. Using the Magnetic Platform, align the two parts from the Stained Glass Thinlits Dies on your Card Stock–eyeballing it so that the sides and bottom are equidistant. Cut all four sides of the luminary. Keep both the cut-out window pieces and the upper and lower filigree pieces.
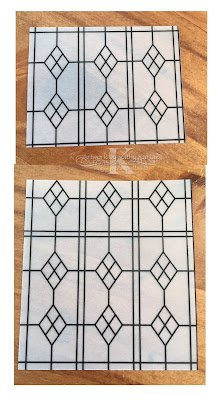
3. Cut four large pieces of Graceful Glass 6″ x 6″ Designer Vellum and four small pieces like this. These pieces will just fit inside the cut-out window.
4. Use Tombow Multi-Purpose Adhesive to put a very light coating of adhesive to the back side of the filigree pieces. Set aside while you color the vellum pieces.
5. Color the reverse side of the vellum with Stampin’ Write Markers,
Watercolor Pencils, or Stampin’ Blends. Adhere the vellum to the inside of
the cut-out windows. Adhere the upper and lower filigree pieces to each window.
6. Assemble the four sides of your luminary. Use Tombow Multi-Purpose Adhesive along the scored edges of both sides of the two larger pieces.
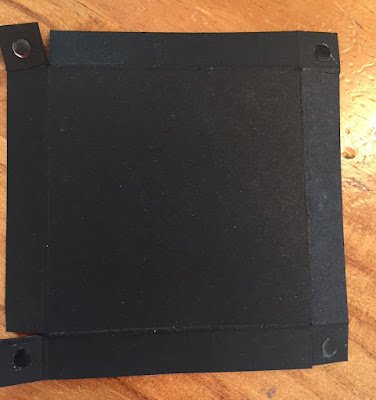
7. Cut a 4″ by 4-1/2″ piece of Basic Black Card Stock and score ate 1/2″ around all sides. Cut the corners as shown in the picture and adhere one glue dot to assemble the bottom. Drop the bottom into the luminary. Use Tear & Tape to secure the bottom to the luminary.


Leave a Reply